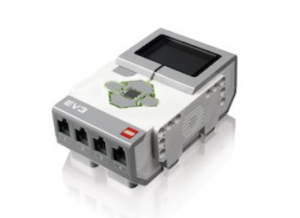
 I have been using the LEGO EV3 robotics kits for five years. (I originally bought 12 kits with funds from a grant I wrote. I also have 10 NXT kits combined with a TETRIX kit for a more robust robot.) The EV3 kits have been very reliable, but after at least a thousand students using these robots I am seeing some signs of wear and tear on the brick. For example, the plastic covering over the display is cracked. This isn’t just from the occasional drop. These cracks do not effect the working of the display or brick function. I have had a few motors go bad, but with students wanting to push it like a hot wheels car, I’m surprised they have lasted as long as they have. At $27 US a piece, this isn’t too much of an issue to replace.
The part of the brick that has become a problem is the mini USB port. Last year (year 4) three bricks ended up with broken ports. I am sure it is from the endless plugging and unplugging of the robot as students fix code and retry on the robotics table. Last year the school agreed to buy three new bricks, which cost around $200 US. I was very grateful for the school to spend $600 to provide my classroom with new bricks.
This school year (year 5) I have two more bricks with broken USB ports. I can see these ports are going to be an issue. To answer a question I know you want to ask, yes I can use bluetooth, but in the classroom setting bluetooth is a poor solution to this problem. Actually I had the two bricks connecting via bluetooth for a couple of weeks. As I suspected, there were issues with students cross connecting to the wrong robot.
This lead me to decide to try and fix the port. Crazy idea, right? After taking a brick apart I found that the mini USB port is easily assessable, but some desoldering was going to be required. I searched the internet for someone who has already tried fixing the port. I found that few have tried, and there wasn’t much explanation on the process. The site suggested for purchasing the ports was no longer valid. I found my ports at aliexpress.com. These ports were shipped from China and took about a month to arrive. I have found them to be adequate, but not necessary the best quality. This is because as I worked on the repair I found that some mini USB cables would push the small connection wires right out the back of the port.
Here are the steps I used to repair the bricks.
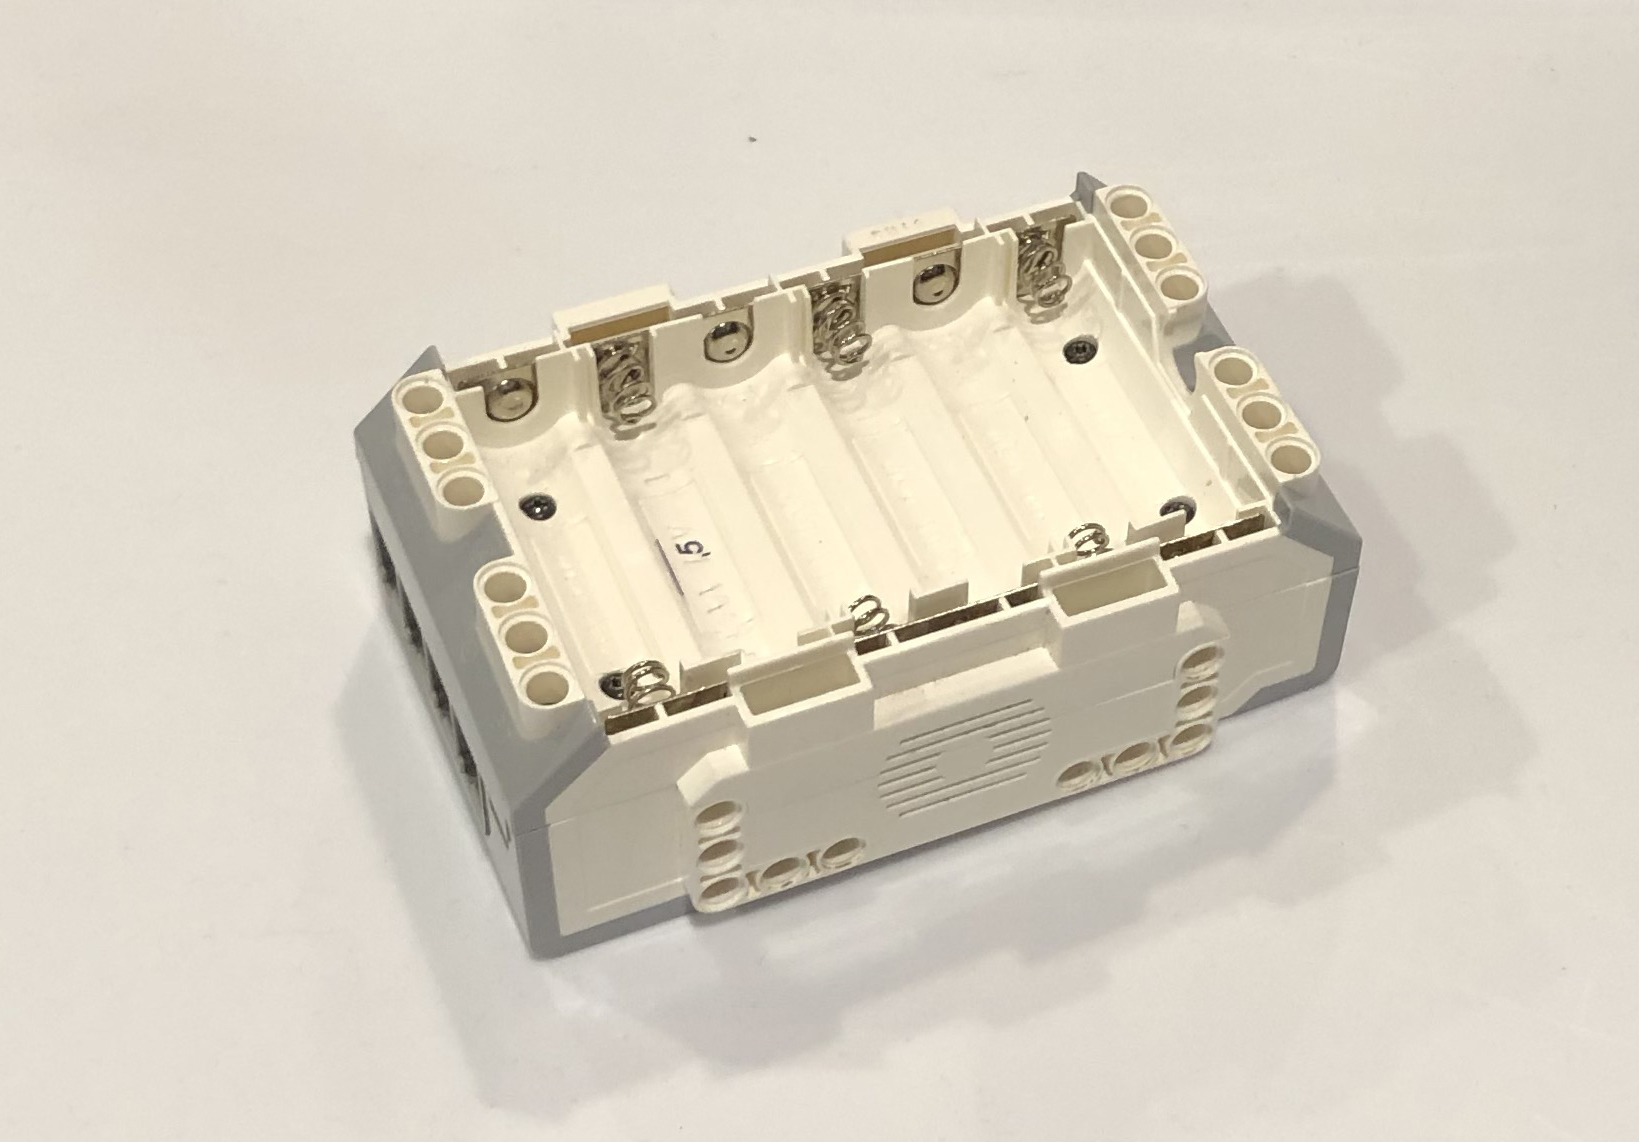
I started by unscrewing the four screws in the battery compartment of the brick. Keep these screws safe.
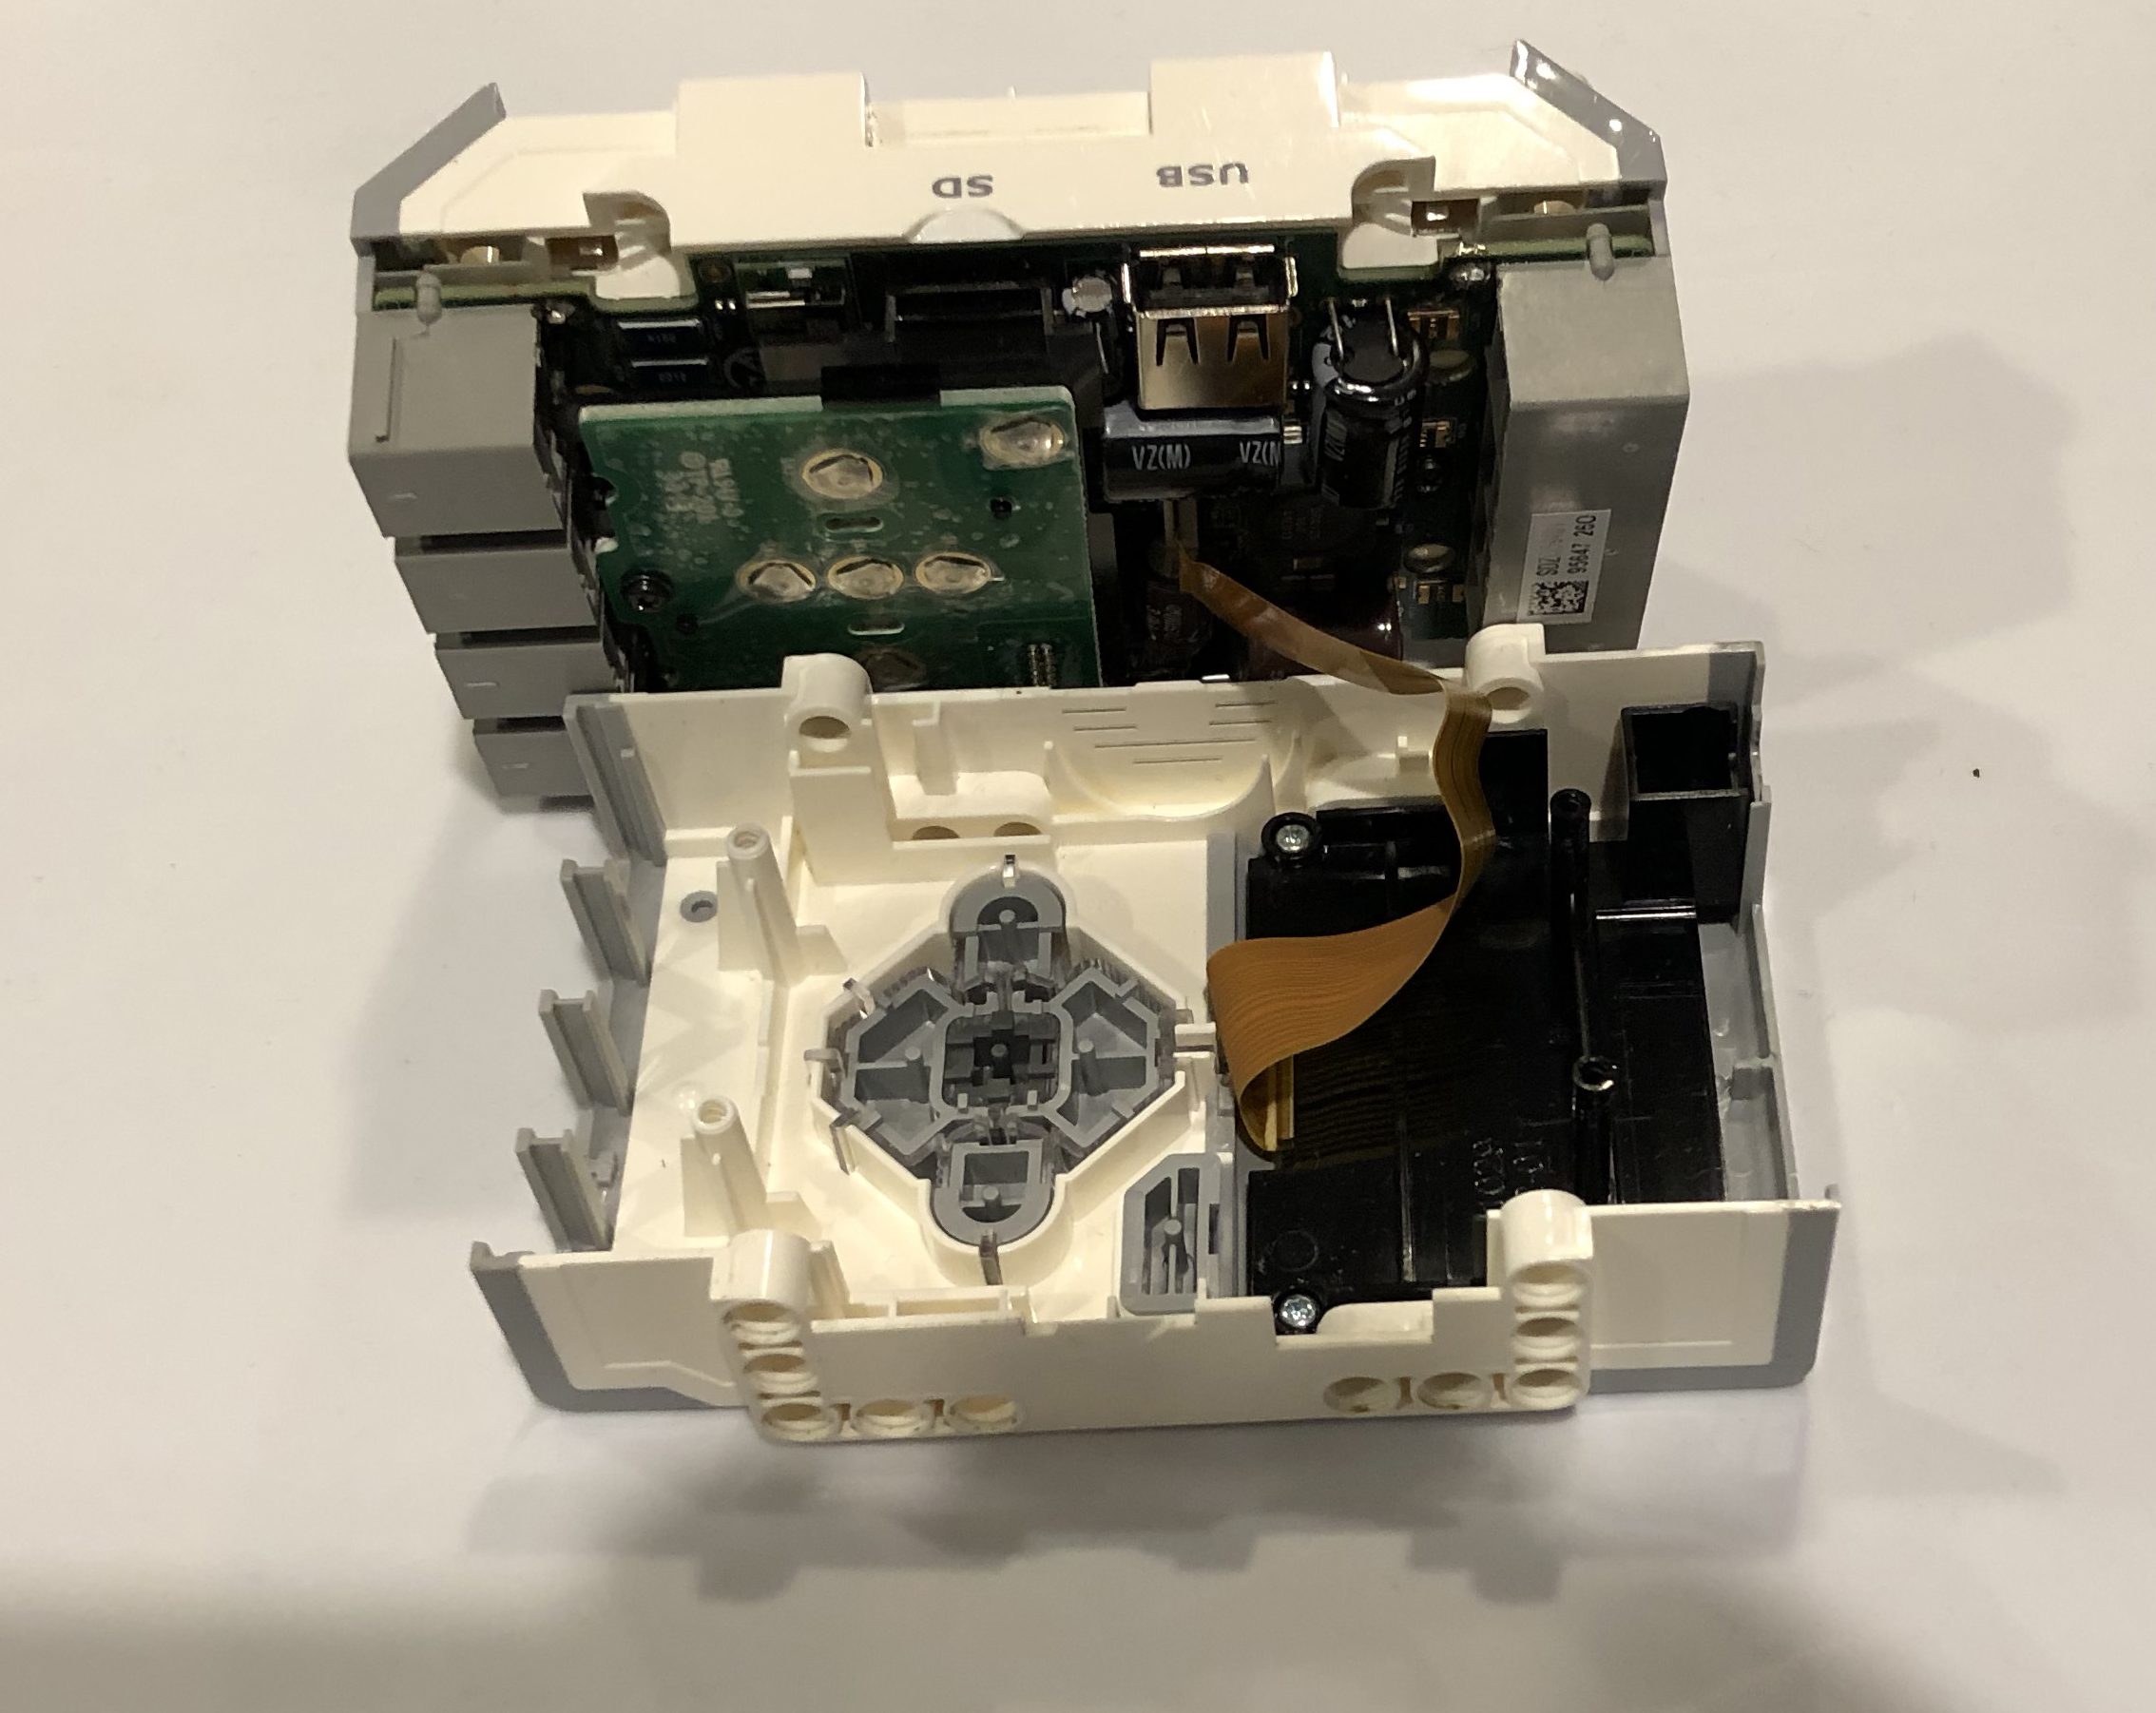
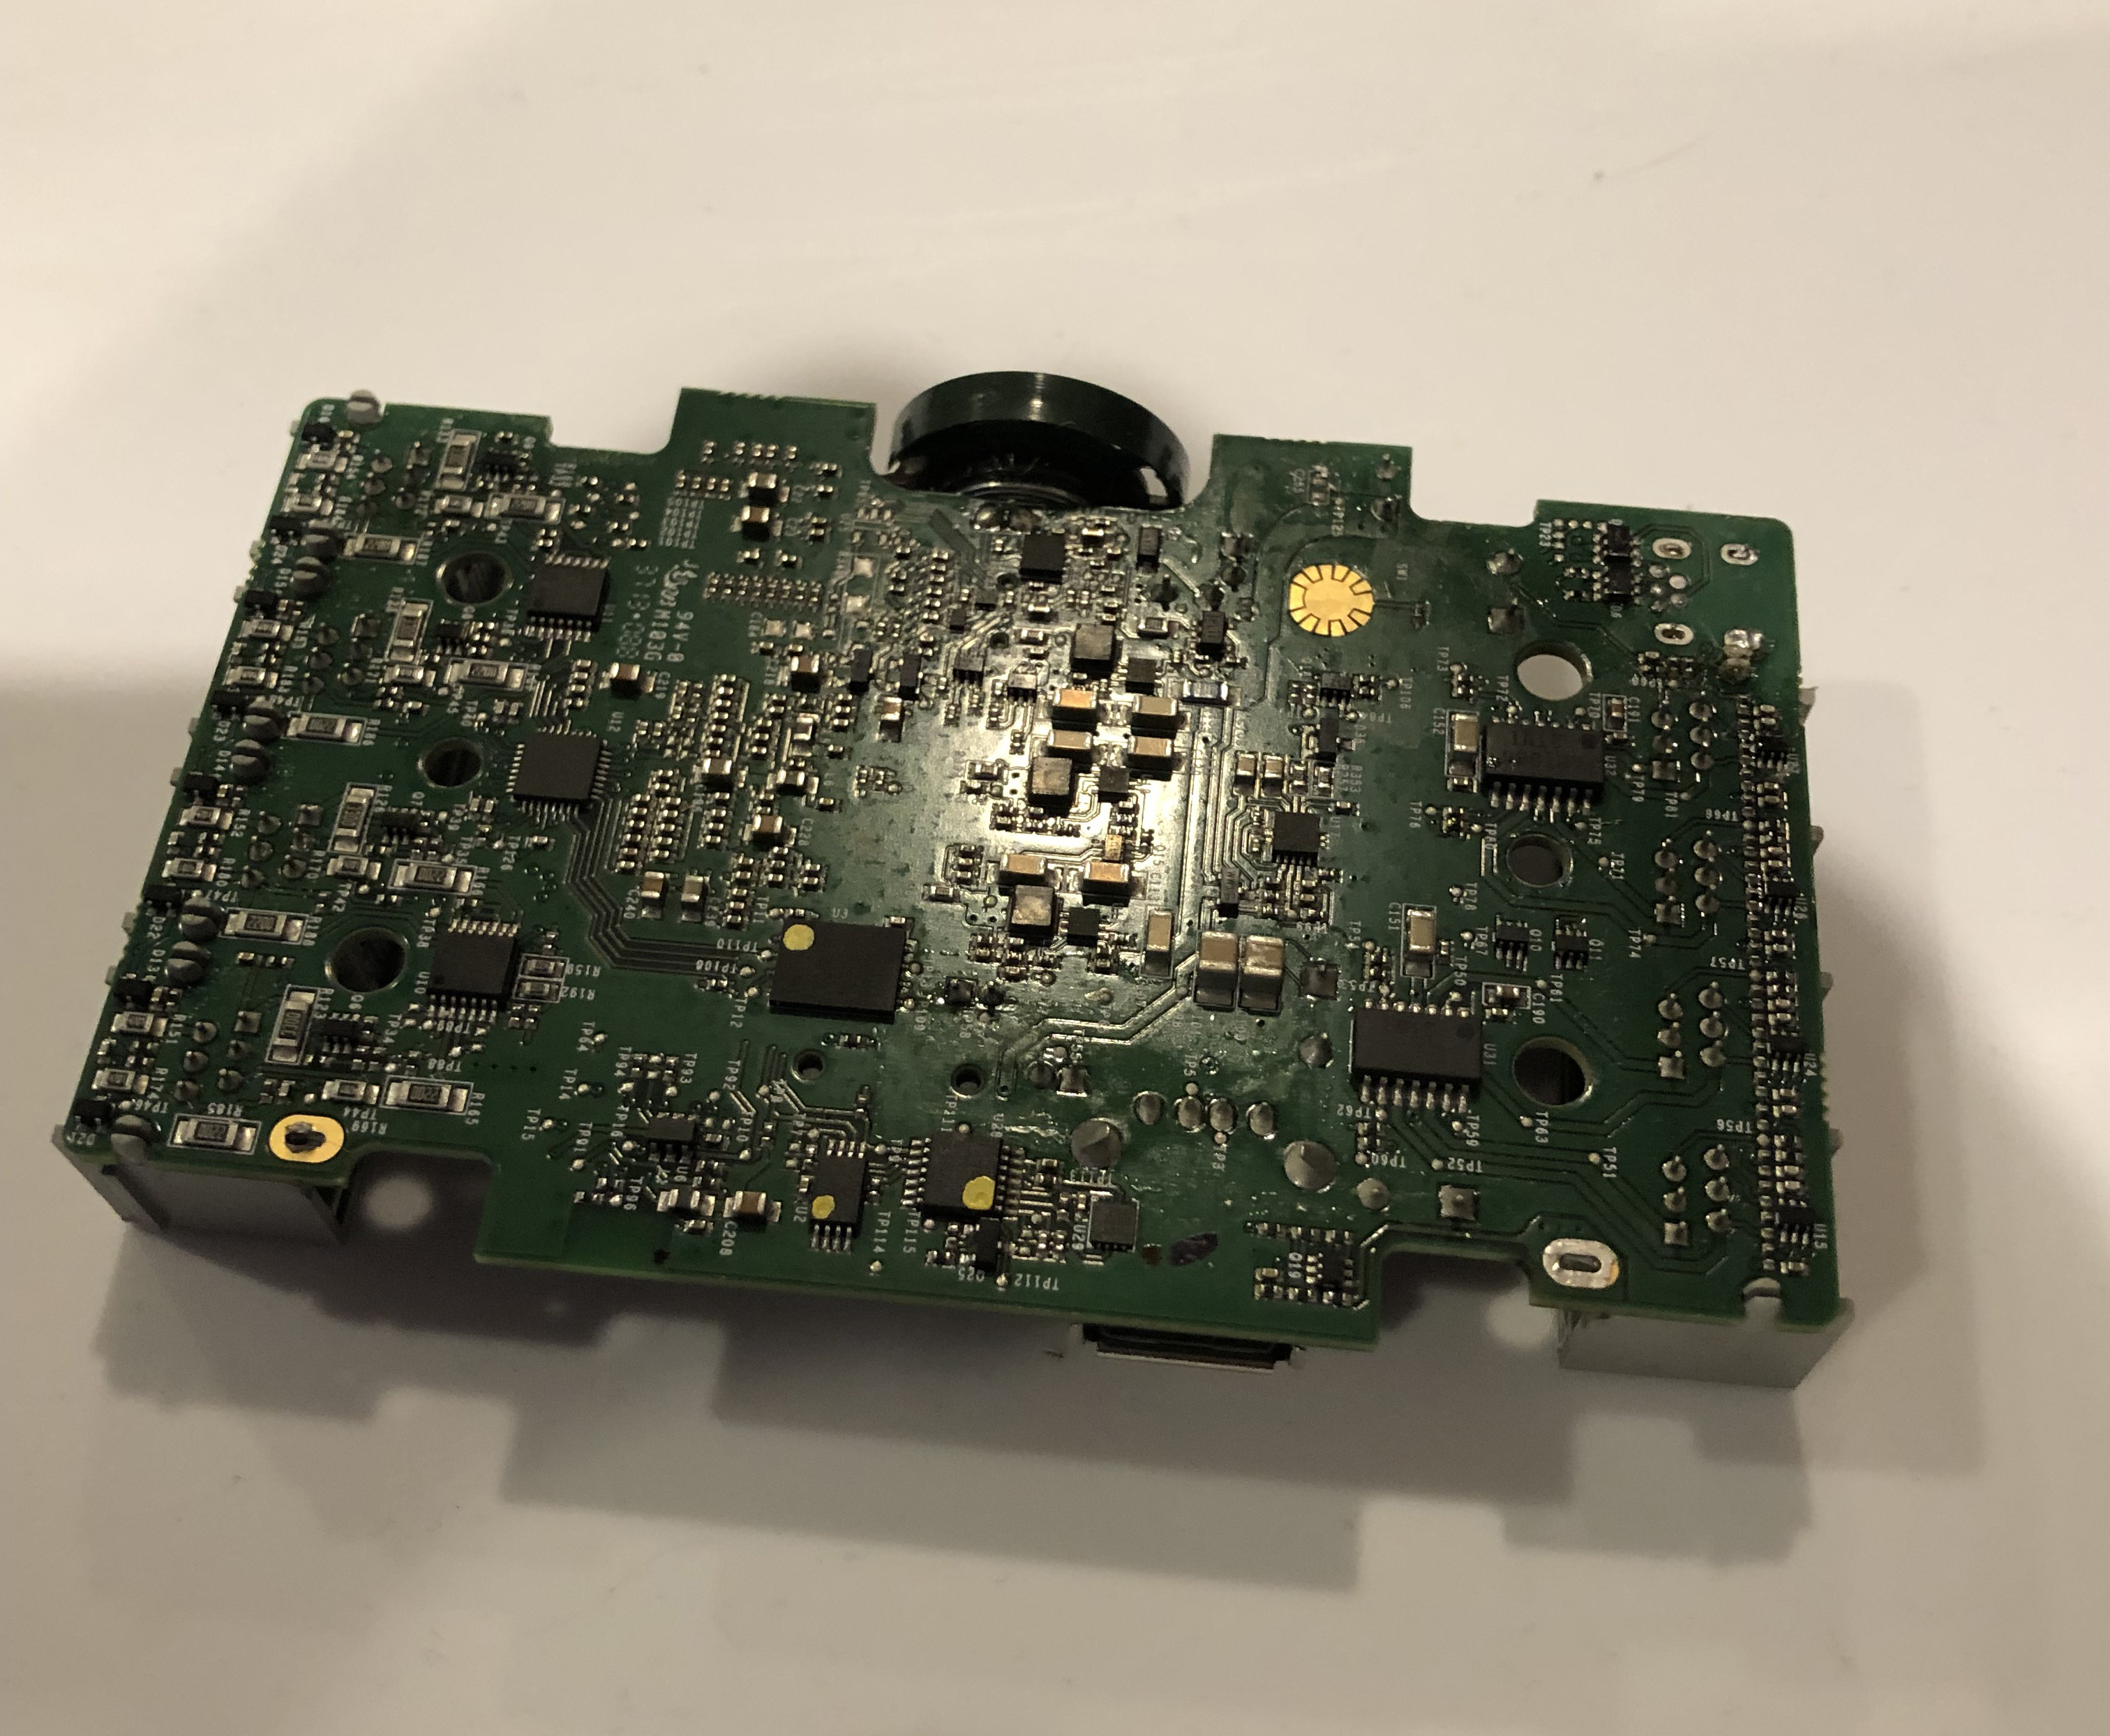
Once apart you can gently pull the ribbon cable connecting the display. Keep the top of the brick face down so the buttons don’t fall out and get lost.
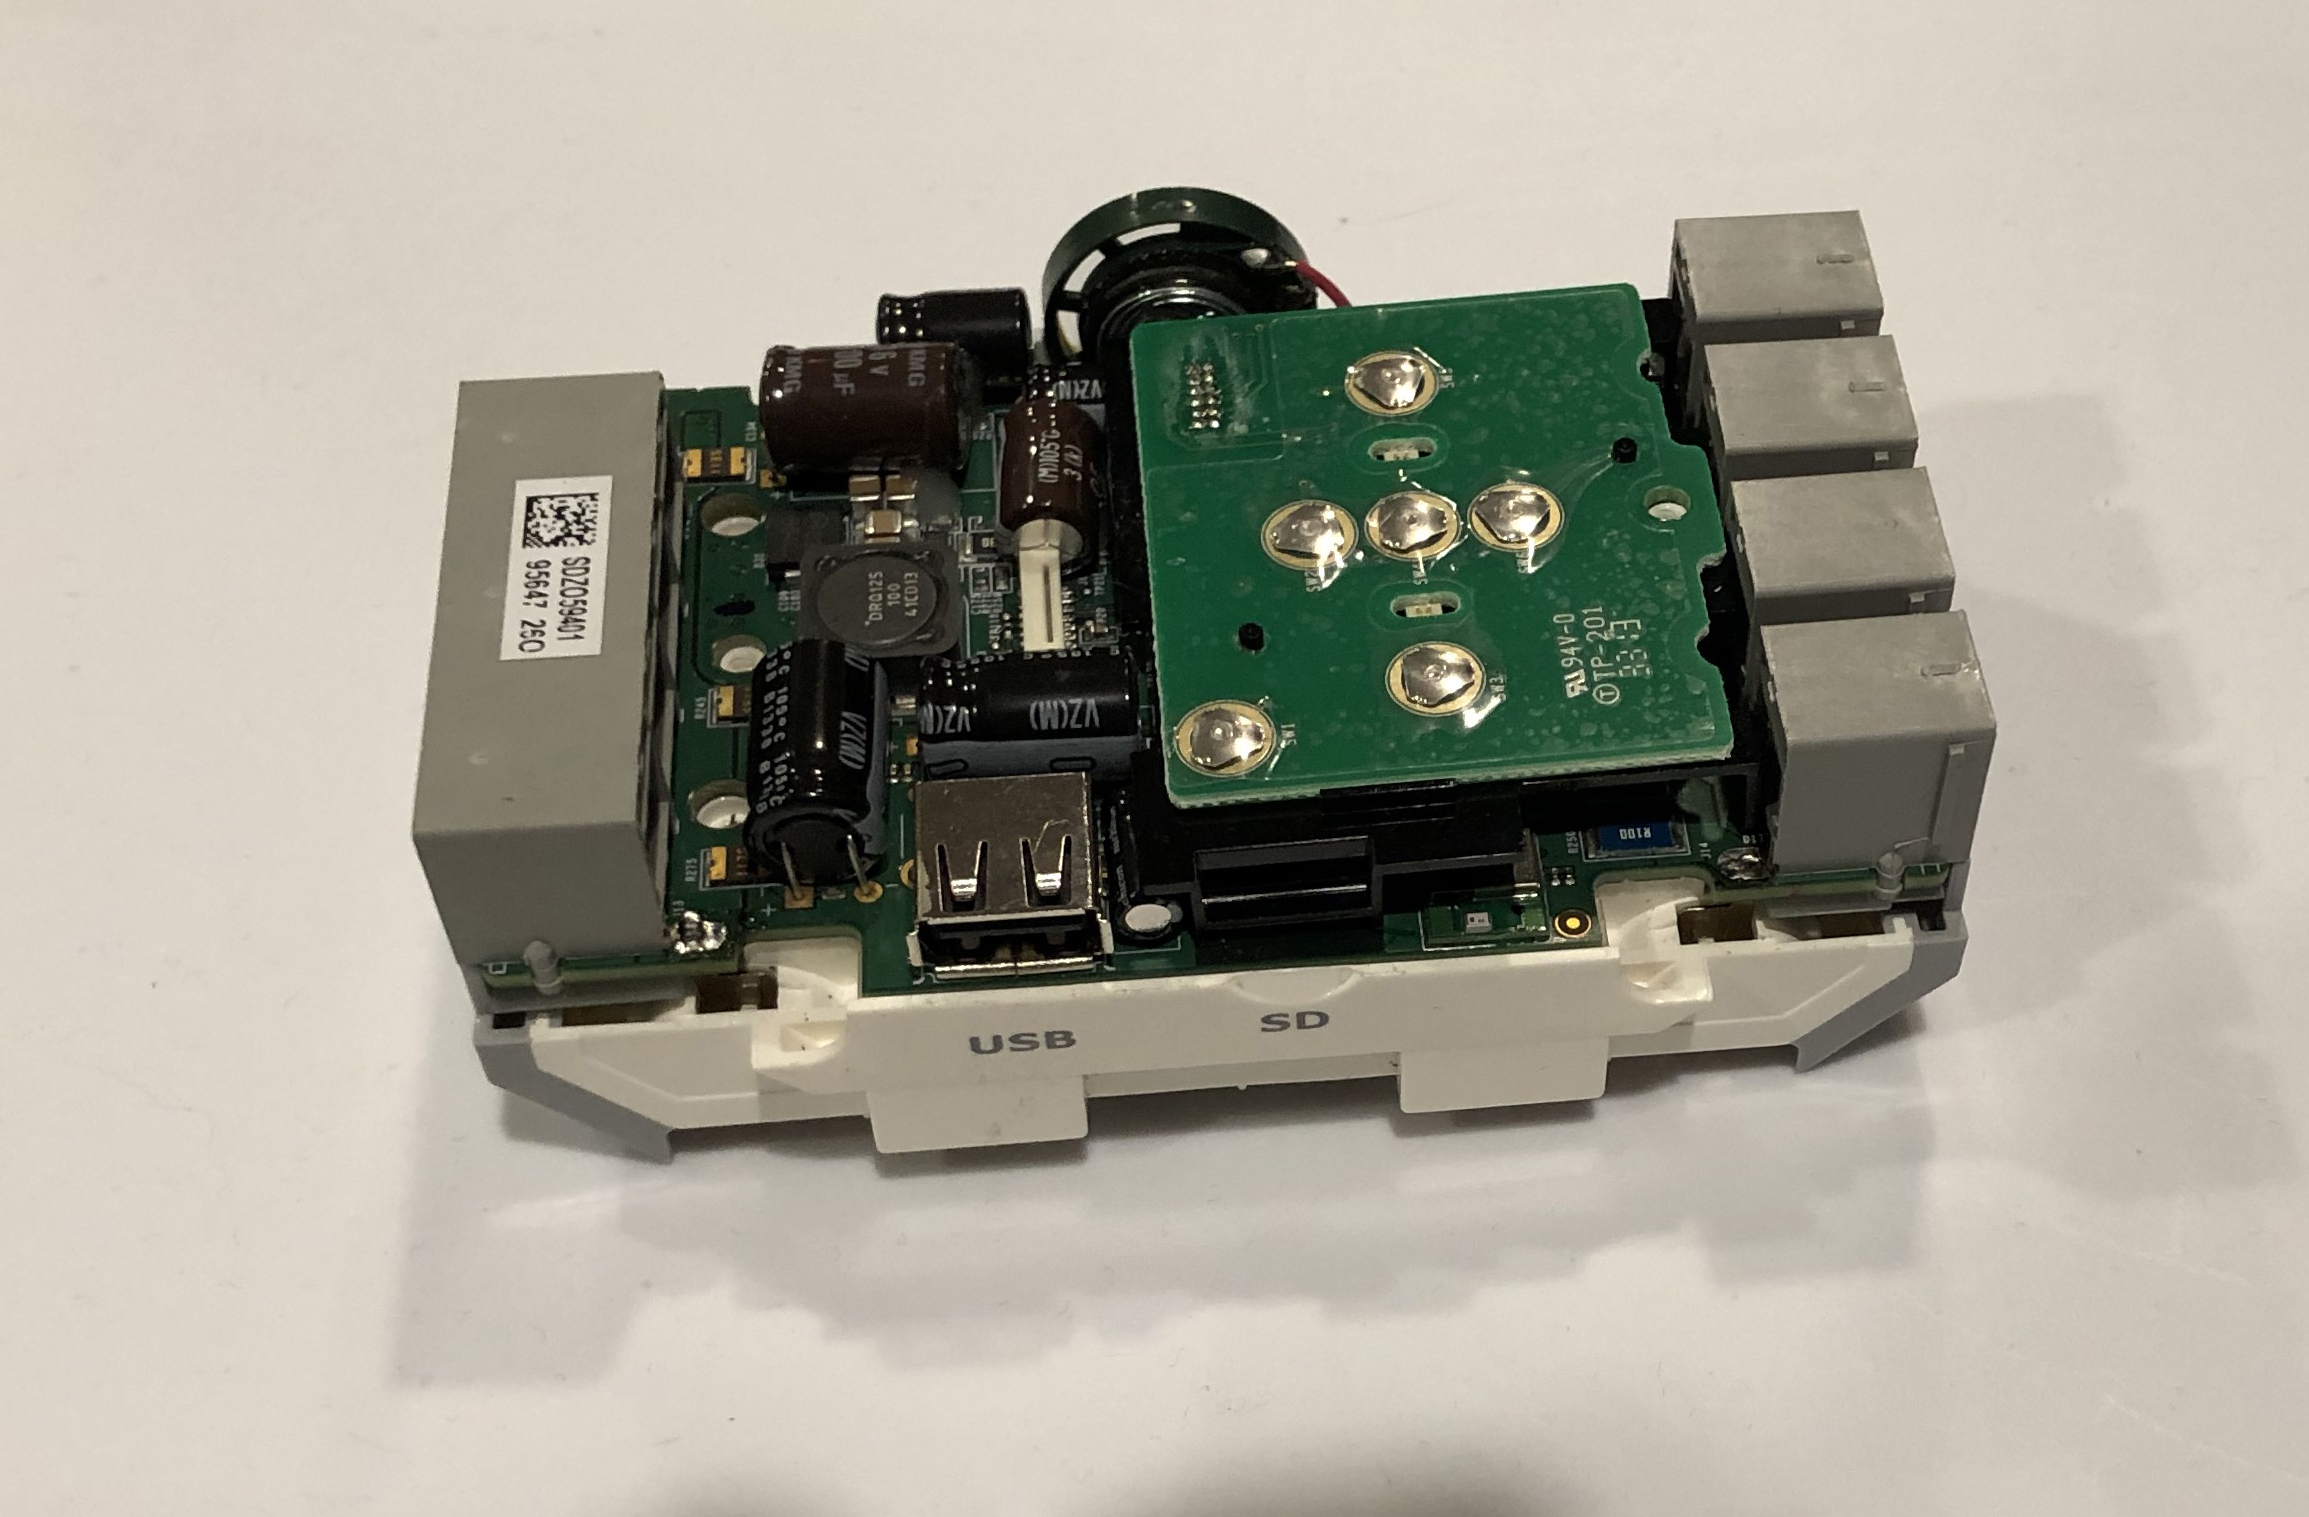
There are two smaller screws to remove. One of the screws holds the smaller board to the larger board. Once the screw is removed you can just gently pull up the board to remove. The other screw holds the board to the battery compartment.
If you think that you can then remove the larger board from the battery compartment you would be wrong. You have to desolder the battery compartment from the board. This is the easiest of the desoldering. I used braided solder wick and fast chip alloy to help remove the extra solder.
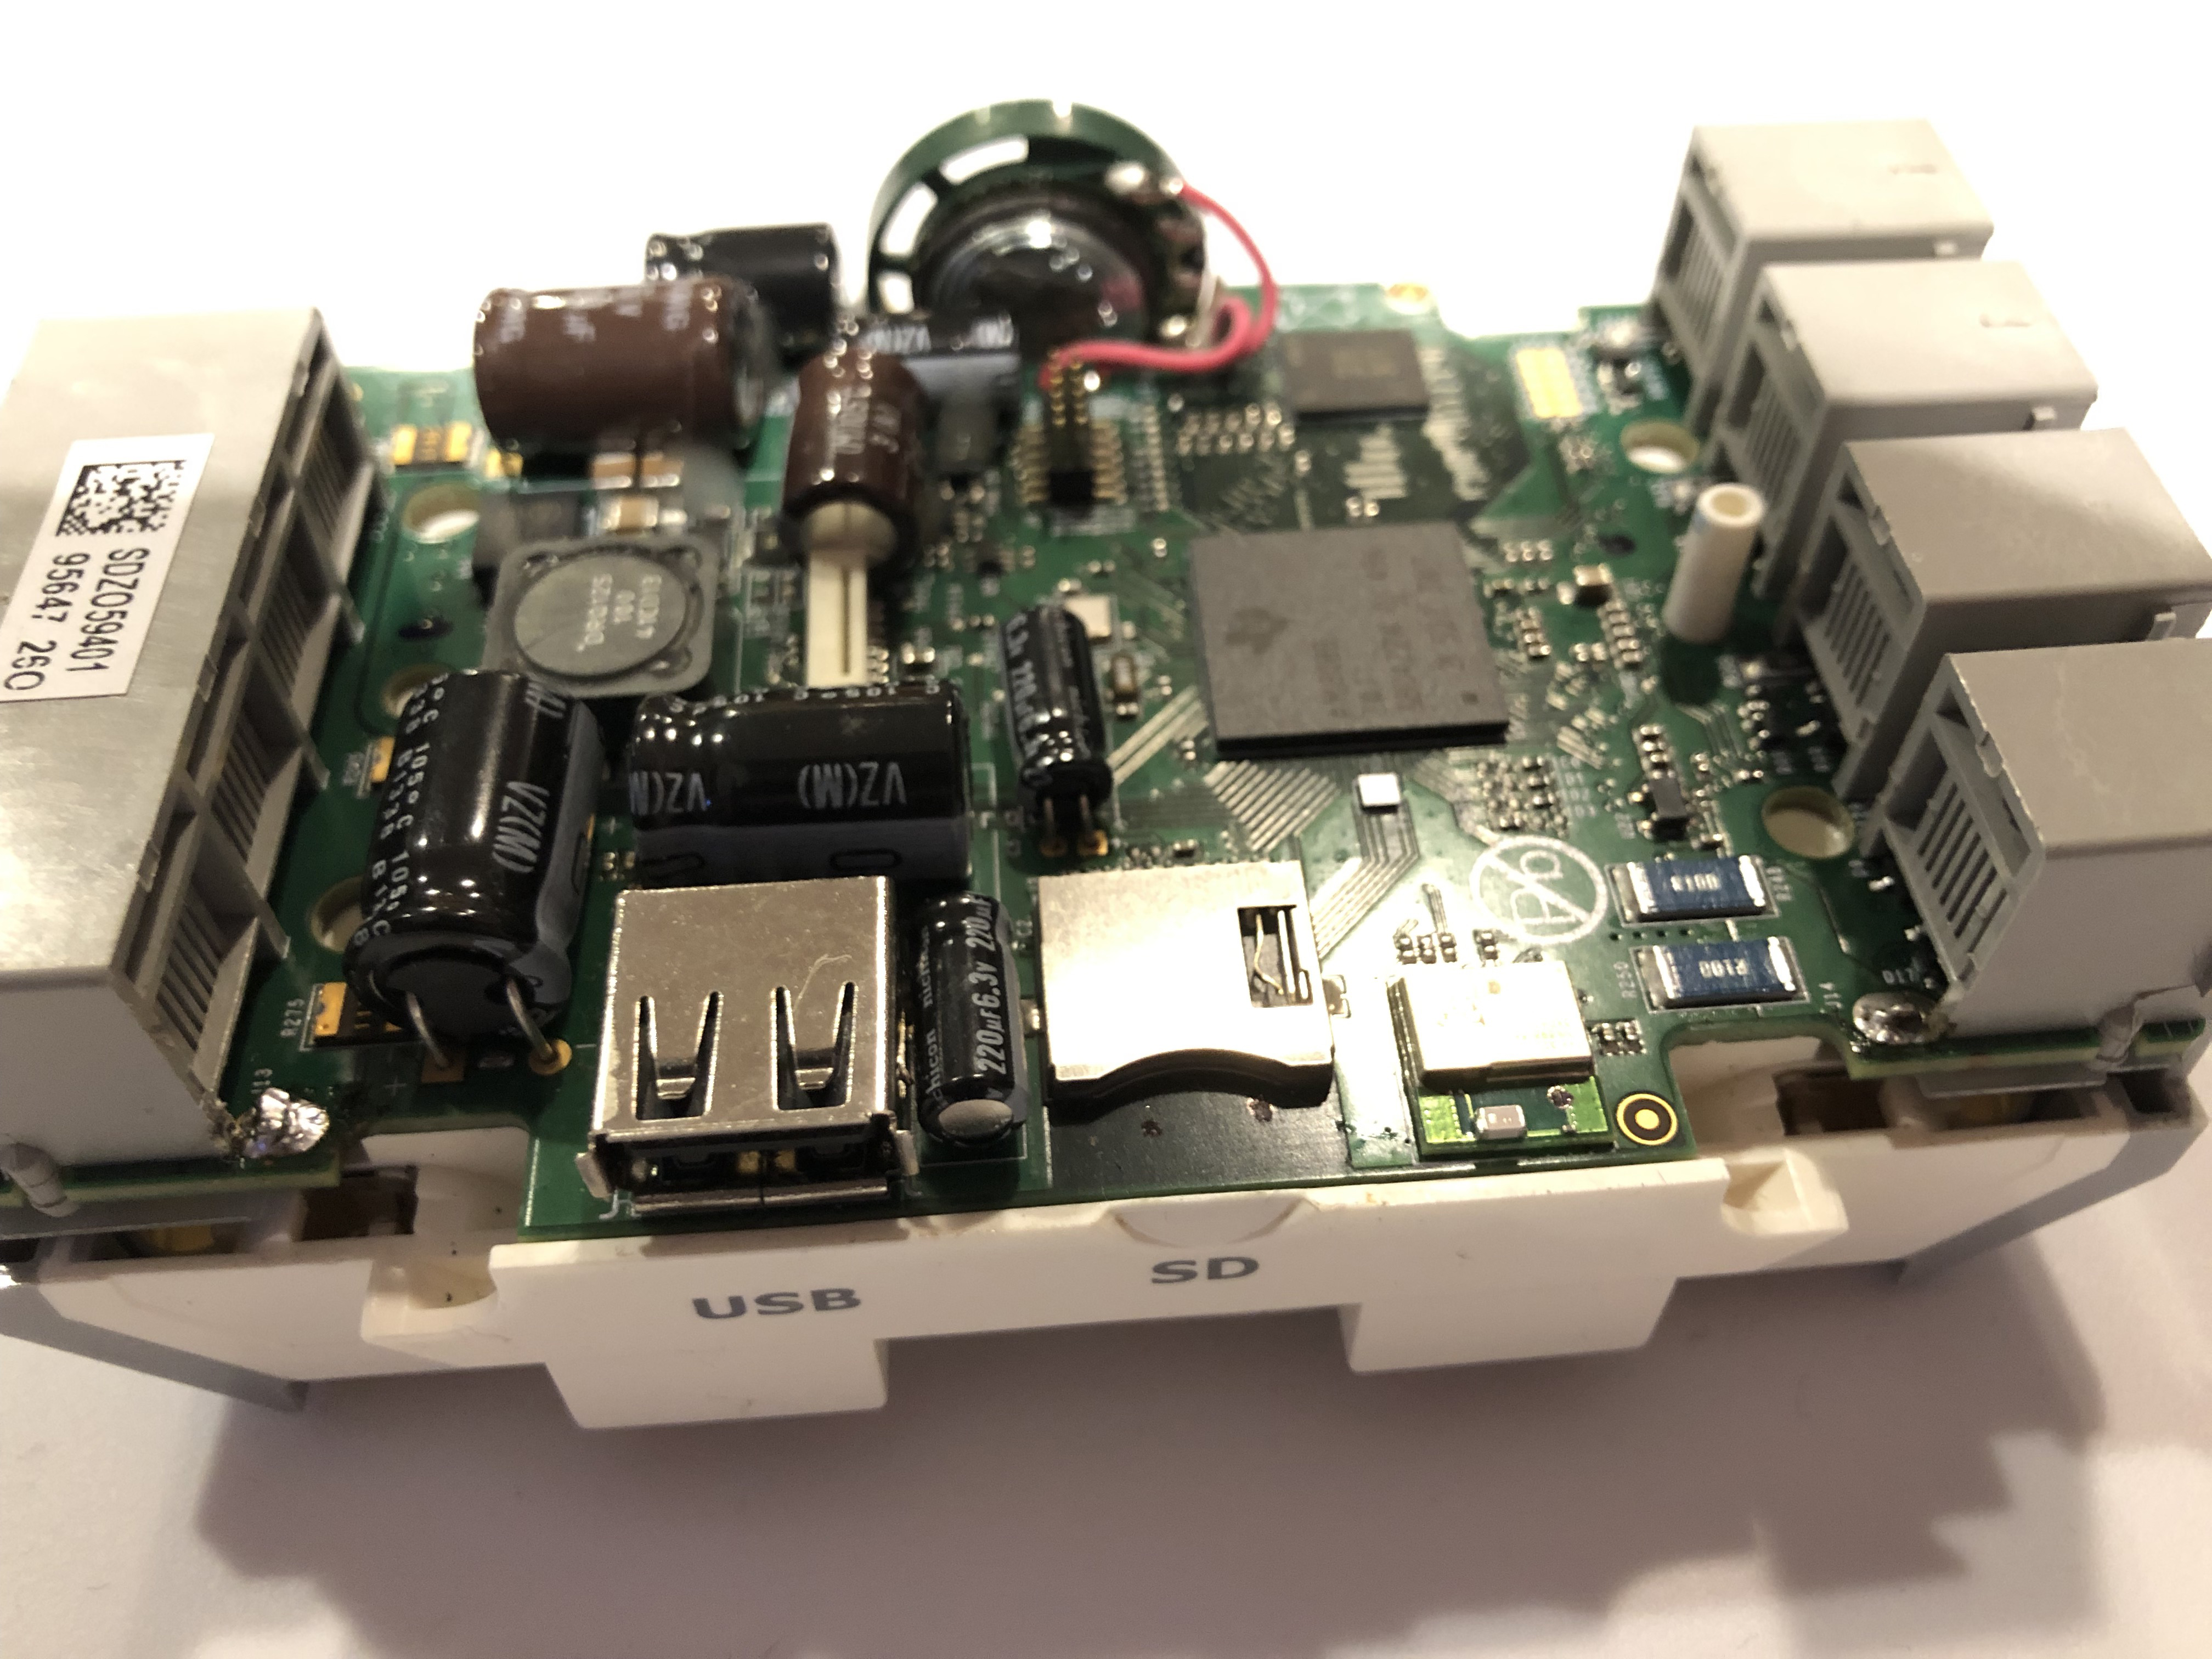
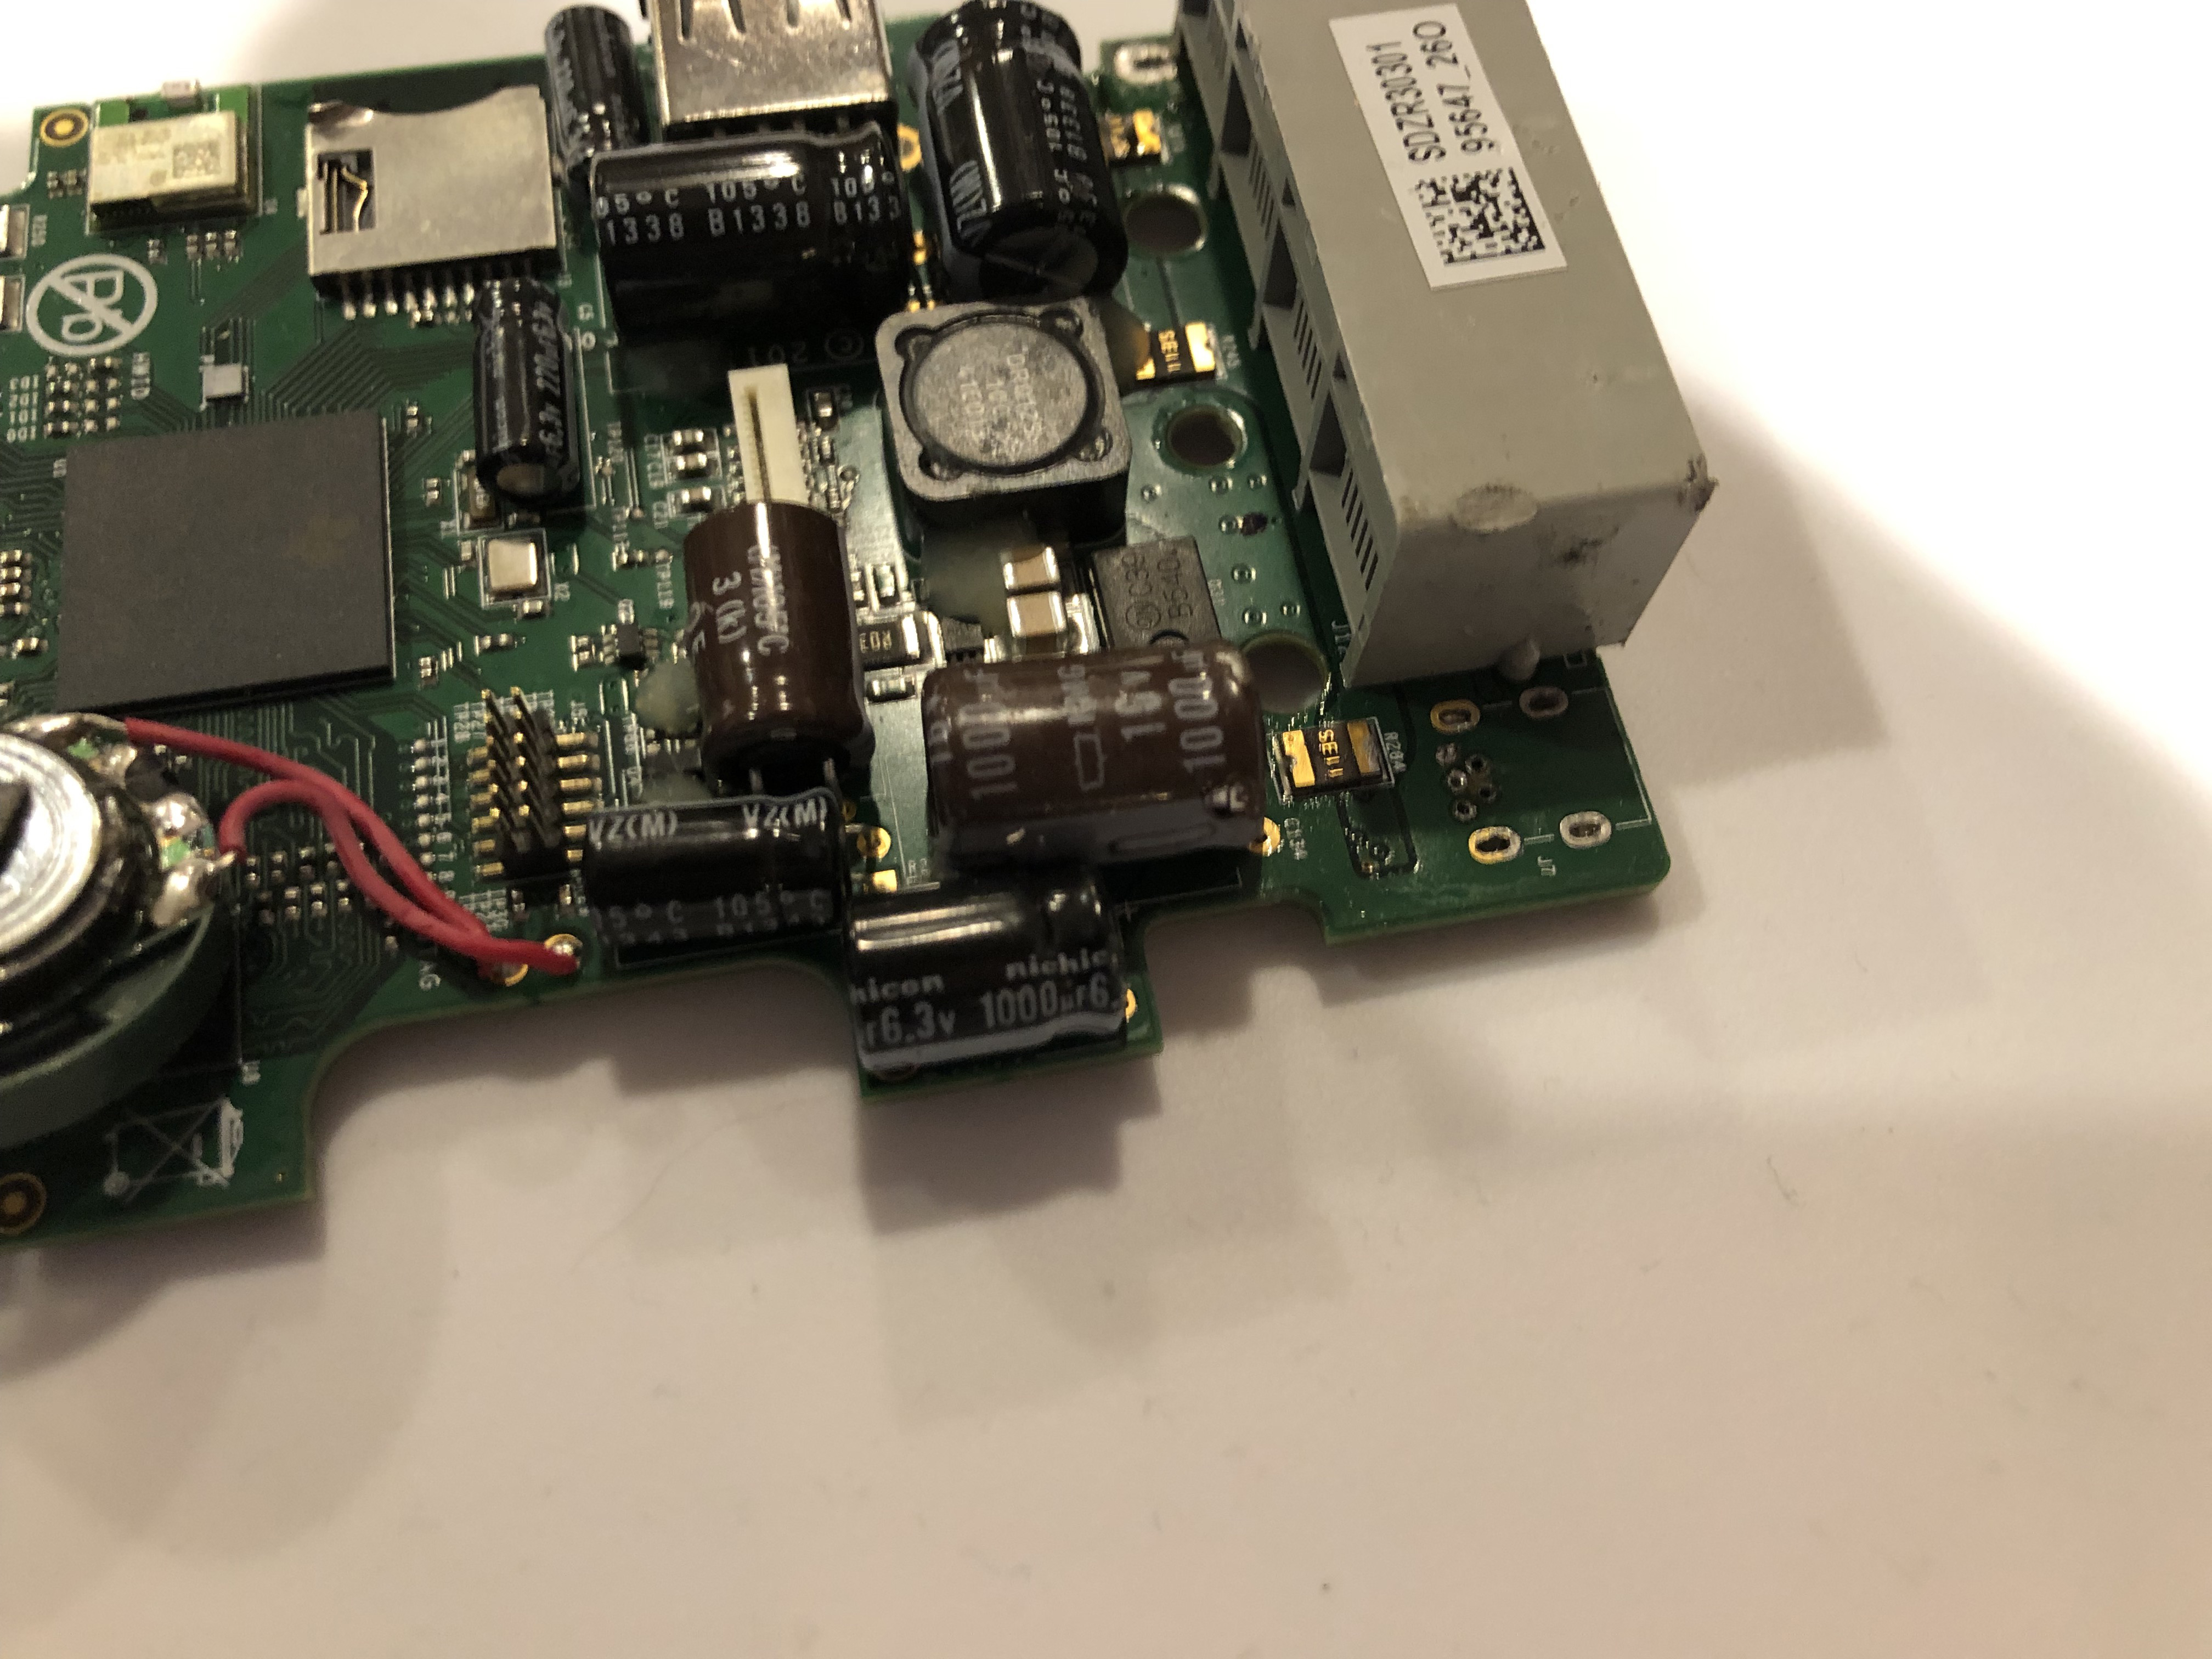
Removing the port was a pain. I removed as much solder as I could and basically had to hold the soldering iron to one side and pull on the other. Once the port was removed, I spend a great deal of time getting the holes cleaned up to receive the new port. To open up the really small holes, I headed a needle I “borrowed” from my wife’s sewing box. there was one hole on both bricks that just wouldn’t open up. I’ll explain what I did to resolve this problem in step 7.
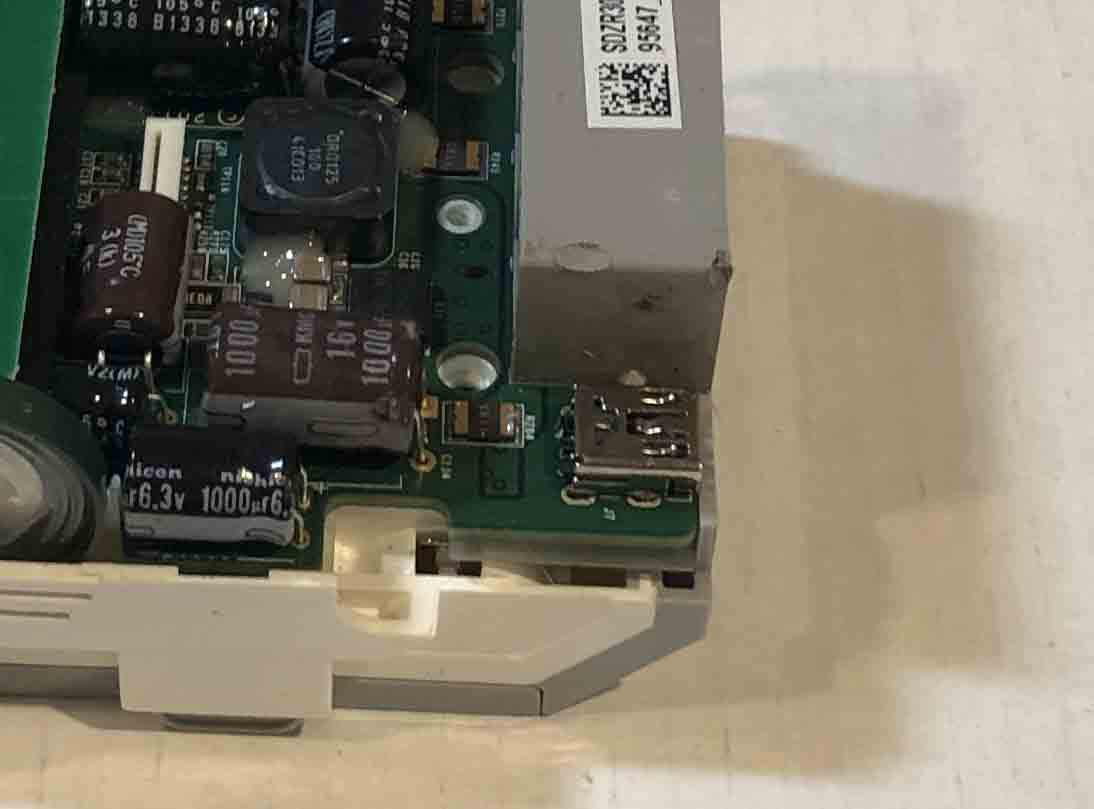
Once I got everything clean and open, I carefully placed the new port on the board.
It didn’t take too much new solder to connect the port. To fix the issue I had in step five with the one hole not open, I surface mounted that wire. It seems to have worked.
I then started to solder the battery compartment back to the board. This is when I realized that black rubber piece that is part of the reset button fell out. I put this back, then soldered the board back to the battery compartment.
Before hooking putting the entire brick back together, I only plugged in the small board with buttons and put the battery pack in to test. Once I was confident that the port was working (I plugged and unplugged many times.) did I put the brick back together in the reverse order I took it apart.
This process has seemed to work. I fixed them over winter break and have continued to test each brick for a week. The real test will be tomorrow! We will see how long it will last when the students get a hold of the bricks.